How to Plan a Simple Backyard Flower Bed From Scratch Fast
You don’t need a landscaping degree or a truckload of fancy tools to build a gorgeous flower bed. You need a plan, a weekend, and a little stubborn joy. Let’s skip the fluff and get your hands in the dirt—because nothing beats stepping outside to a patch of color you created yourself.
Pick the Perfect Spot
Where does the sun hang out in your yard? That’s your first clue. Most flowering plants want at least 6 hours of sunlight, so full sun works best for a classic flower bed. If your yard stays shady, don’t panic—plenty of plants thrive there too.
How to Check Sunlight (the easy way)
– Walk outside three times: morning, midday, late afternoon.
– Snap a quick photo of your chosen spot each time.
– If it’s bright most of the day, you’ve got full sun. Dappled light means partial shade.
– Deep shade? We’ll pick plants that actually like that vibe.
Also, pick a spot you’ll see often—near the patio, along a path, or by the front walk. Visibility = joy. If you hide it behind the shed, you’ll forget to water it. Ask me how I know.
Shape It (Keep It Simple)
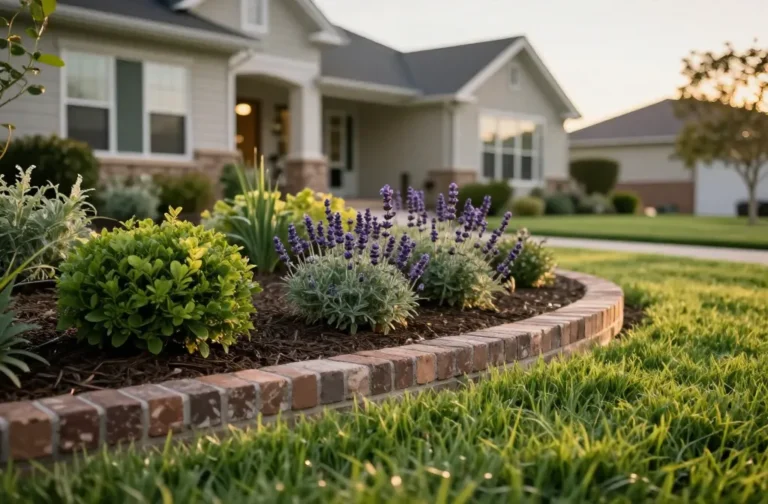
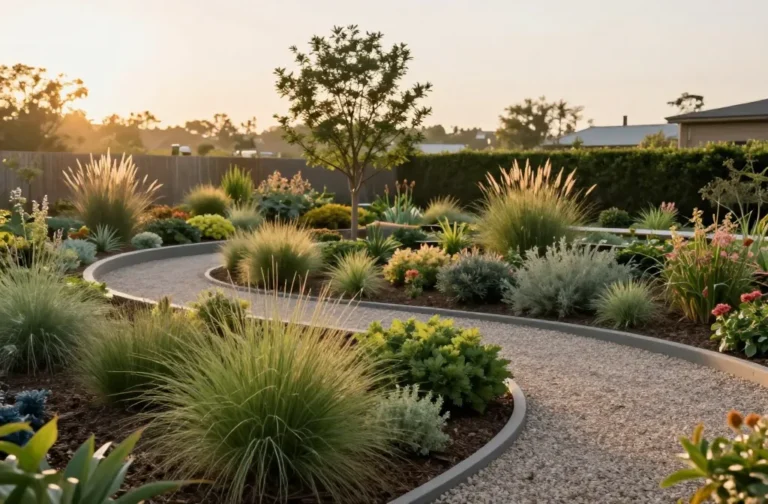
Curves look natural. Straight edges look clean. Both can look great—so choose what matches your house’s style. For newbies, I like a soft curve along the edge of the lawn.
Lay It Out Fast
– Use a garden hose to sketch a shape on the ground.
– Adjust until it looks right from where you’ll view it most.
– Outline with landscape spray paint or flour.
– Pro tip: Keep the bed at least 3 feet deep so plants have room. Go 4–6 feet if you want that lush, layered look.
Test Your Soil (and Make It Happy)
Your flowers will live or die based on your dirt. Harsh but true. Scoop up a handful. If it clumps like wet clay, you need drainage help. If it falls apart like beach sand, you need organic matter. If it’s crumbly like chocolate cake, congrats—you’re basically a soil sommelier.
Quick Fixes That Actually Work
– Clay soil: Mix in compost and fine bark; avoid dumping sand (it can make concrete).
– Sandy soil: Add compost and coconut coir or leaf mold to hold moisture.
– pH check: Grab a cheap kit. Most flowers like 6.0–7.0. If it’s too acidic, add garden lime. Too alkaline? Work in elemental sulfur over time.
IMO, one or two inches of compost tilled into the top 6–8 inches makes a huge difference. It’s the closest thing to a cheat code.
Design Your Plant Mix
Let’s talk layout. A small bed gets messy fast without a plan. You want height in the back (or center if it’s an island bed), medium plants in the middle, and ground-huggers up front. Think layers, like a good sandwich.
Start with a Theme
– Sunny cottage vibes: Coneflower, black-eyed Susan, salvia, yarrow, catmint.
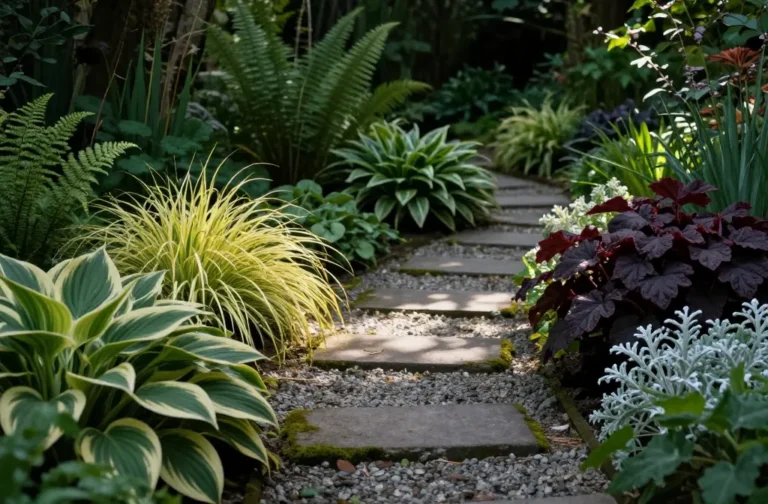
– Shady calm: Hosta, heuchera, astilbe, ferns, lungwort.
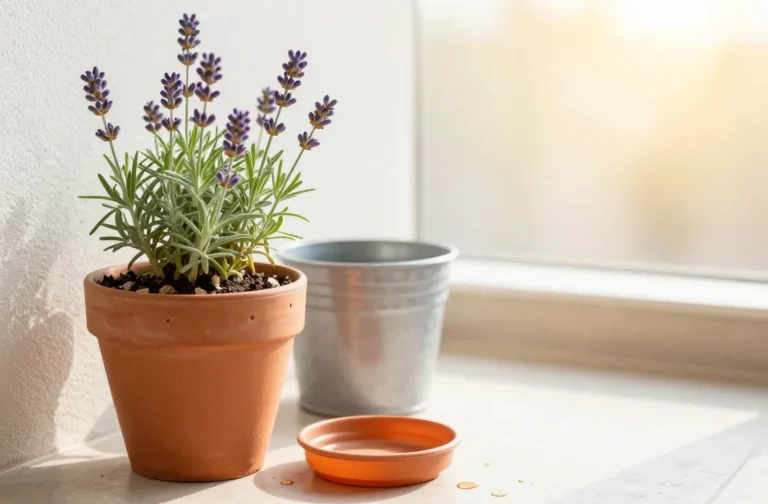
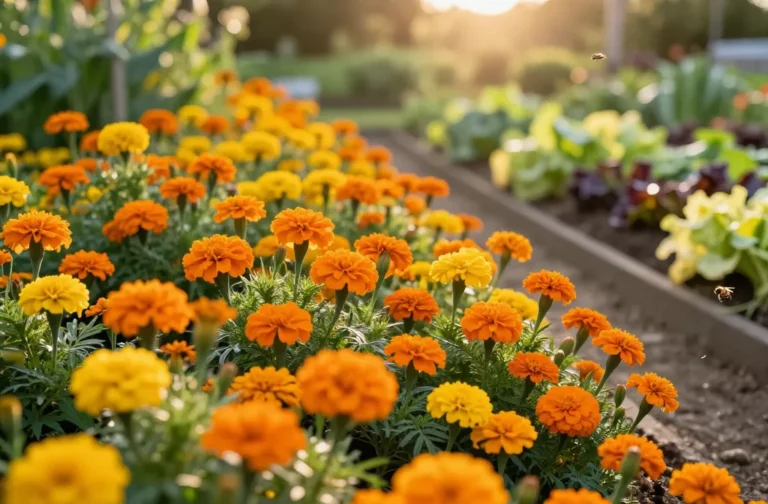
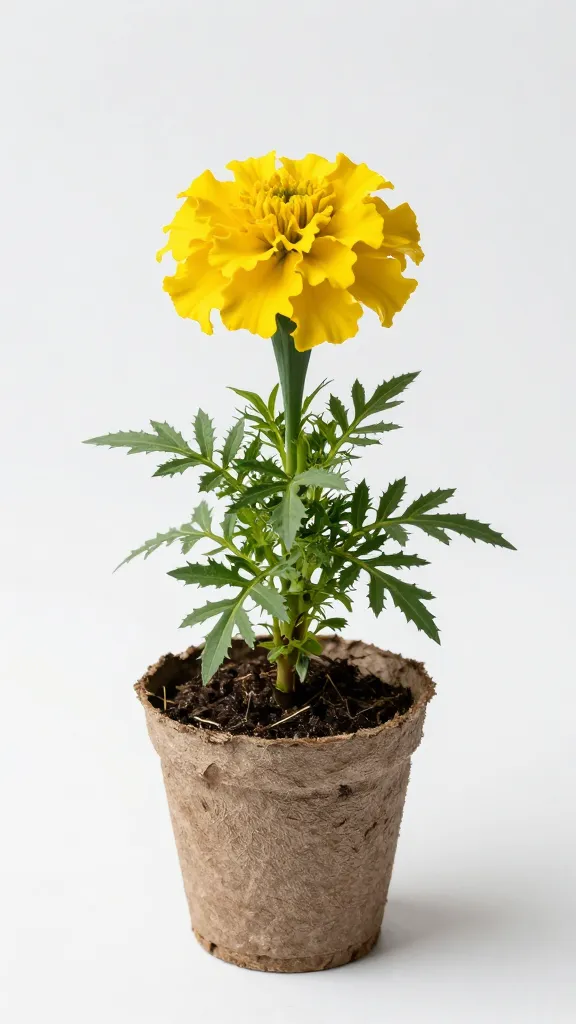
– Pollinator party: Bee balm, lavender, hyssop, coreopsis, zinnia (annual).
– Low-maintenance perennial bed: Daylilies, sedum, Russian sage, ornamental grasses.
The 60/30/10 Rule
– 60% anchors: Reliable perennials that bloom long or look great all season.
– 30% seasonal stars: Plants with a shorter bloom window but big impact.
– 10% accents: Annuals or statement pieces you can swap each year.
Plant in Drifts, Not Dots
Repeat 3–5 of the same plant together for a bold look. Scattering single plants everywhere reads as chaos. Unless chaos is your brand—then carry on.
Color and Texture Basics
– Pick 2–3 main colors and repeat them.
– Add contrasting textures: feathery grasses next to bold leaves, spikes next to mounds.
– FYI: White and silver calm everything down if your palette goes feral.
Prep and Edge the Bed
Time to make it real. Mark the outline, then clear the grass. You can either dig it out (instant but sweaty) or smother it.
Two Ways to Clear Grass
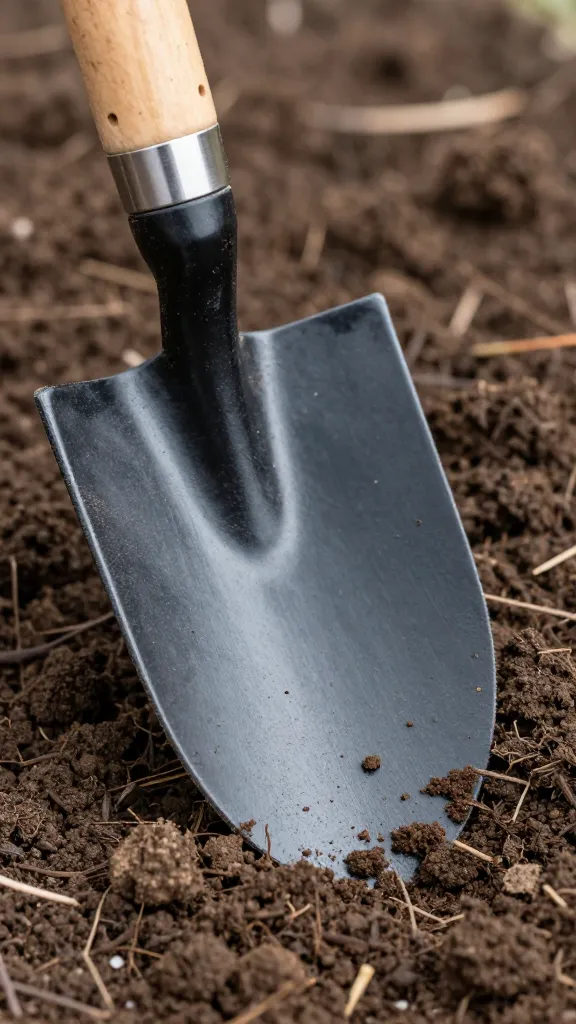
– Digging method: Slice under the sod with a flat spade, roll it up, and remove. Great workout, 10/10 for drama.
– Smothering method: Lay cardboard over the area, water it, add 3–4 inches of mulch or compost, and wait 4–6 weeks. Plants can go in through the cardboard after it softens.
Now edge the bed. A sharp, clean edge keeps grass from invading and looks pro.
– Natural edge: Cut a 4–6 inch deep V-trench along the border.
– Metal or plastic edging: Install it flush with the soil for a tidy line.
I prefer a natural edge—cheap, classic, and easy to refresh.
Plant Like a Pro
Set your plants on top of the soil first, still in their pots. Step back. Adjust the spacing. Take a photo. Only then start digging. This five-minute sanity check prevents the “oops” shuffle.
Spacing and Planting Tips
– Follow tags, but lean generous—crowded plants fight and sulk.
– Dig a hole the width of the pot and just a hair deeper.
– Loosen circling roots gently. Don’t yank like you’re starting a lawn mower.
– Set the crown at or slightly above soil level.
– Backfill, firm lightly, and water deeply.
After planting, lay 2–3 inches of mulch. Mulch = moisture savings + fewer weeds + polished look. Keep it an inch away from stems so nobody rots.
Water, Feed, and Chill
Water slowly and deeply the first few weeks. Aim for 1 inch per week total (rain counts). Stick your finger in the soil—if the top inch feels dry, water.
– Feeding: Mix a slow-release fertilizer into the soil at planting, or top-dress with compost in spring.
– Deadheading: Snip spent blooms to keep flowers coming. Not all plants need it, but many do.
– Support: Stake tall plants early so the support disappears into the growth.
– Weeding: A 10-minute weekly sweep beats a three-hour battle later. Ask future you.
IMO, consistency beats intensity. A little love often > a heroic rescue once a month.
Common Mistakes to Dodge
– Planting too close to the house or walkway. Leave room for growth and air.
– Ignoring mature size. Tiny plants become beasts. Check the tag, then add 20% for optimism.
– Mixing thirsty plants with drought lovers. Group by water needs.
– Forgetting winter interest. Add evergreens, grasses, or seed heads for off-season texture.
– Buying one of everything. Resist. Repetition creates rhythm.
FAQ
How big should my first flower bed be?
Start with something manageable: about 4–6 feet deep and 8–12 feet long. That gives you room to layer plants without feeling overwhelming. You can always extend it later when the gardening bug bites harder.
What’s the easiest plant combo for beginners?
For sun: catmint, coneflower, black-eyed Susan, and a compact grass like ‘Karl Foerster’. For shade: hosta, heuchera, astilbe, and Japanese forest grass. These combos look good together, bloom reliably, and forgive minor oops moments.
Can I mix perennials and annuals?
Absolutely—and you should. Perennials build the backbone, while annuals bring all-season color. Tuck annuals at the front or in gaps for instant pop while your perennials fill in.
How do I keep it low maintenance?
Choose drought-tolerant perennials, mulch well, and use drip irrigation or soaker hoses. Group plants by water needs and skip divas that demand constant pruning. Your future weekends will thank you.
Do I need landscape fabric under the mulch?
Usually no. Fabric can block water and make soil lifeless over time. Use 2–3 inches of organic mulch and hand-weed the few that sneak through. Cardboard works for initial grass suppression if you need it.
When’s the best time to plant?
Spring and early fall. Cooler temps and regular rain help roots settle in. Summer planting works too, but you’ll water more. Avoid baking your newbies in a heatwave if you can help it.
Conclusion
You don’t need perfection—you need a plan and a shovel. Pick a sunny spot, keep the shape simple, feed the soil, and plant in layers. Add mulch, water deeply, and let your new garden do its thing. Before long, you’ll step outside, coffee in hand, and think, “Yep. I grew that.” FYI: that smug feeling pairs well with sunglasses and a lawn chair.